Exhaust Flash
ExhaustFlash Effect is used to imitate flames shooting out of exhaust. The method to achieve this is identical to the one used for most muzzle flash in FPS games; that is a set of images gets enabled and disabled at rapid rate with different sprite and scale each time. This is a performant way to achieve the effect while avoiding particle effects.
Setup
Adding Quads
- Create and place two
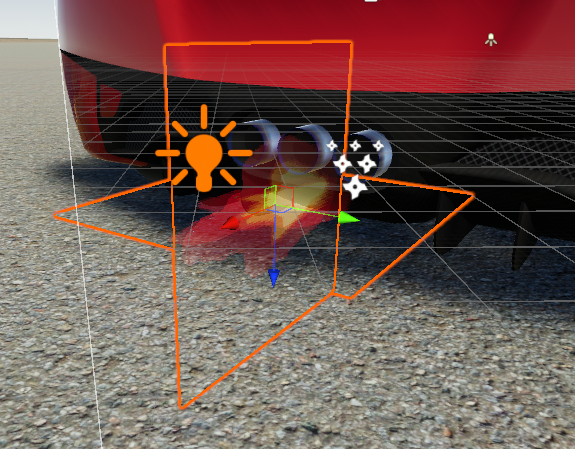
Quads perpendicular to each other. Move them to the location of the exhaust. - Remove any colliders from
Quads. - Create a new material that uses
Particles/Standard Unlit(Unity 2019) or equivalent shader withTransparentrendering andMultiplycolor mode. The included example on Sports Car prefab can be copied. Assigning one of the included flame textures will show if the rotation of theQuadis correct. RotateQuadif needed.
- Assign the
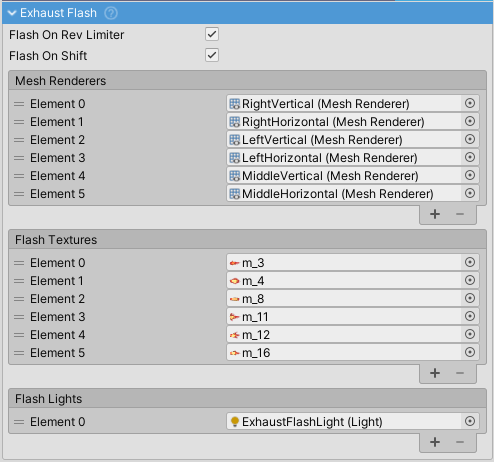
MeshRenderers from the newly created Quads to theExhaustFlash⇒Mesh Rendererslist.
Assigning Textures
To make flames look more convincing a random texture is assigned to each Quad on each flash. A number of default textures is included.
- Assign textures to
Flash Textureslist.


