Effects
Effects Manager
Controls all the vehicle effects.
Effect system makes use of VehicleComponents and therefore each Effect can be turned on or off, be enabled or disable or have LOD set.
- All
Effects with manager in the name manage multiple instances of the effect, usually one for each wheel - e.g. skidmarks or surface particles.
Exhaust Flash
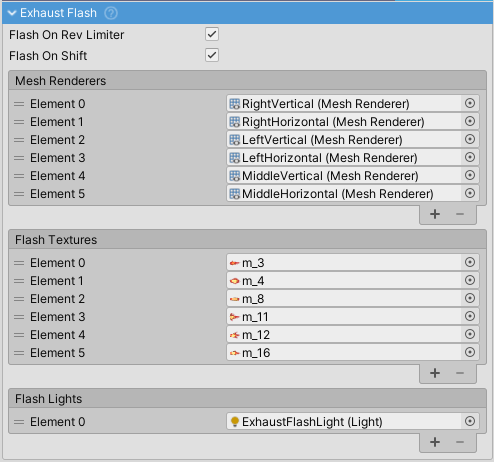
ExhaustFlash Effect is used to imitate flames shooting out of exhaust. The method to achieve this is identical to the one used for most muzzle flash in FPS games; that is a set of images gets enabled and disabled at rapid rate with different sprite and scale each time. This is a performant way to achieve the effect while avoiding particle effects.
Setup
Adding Quads
- Create and place two
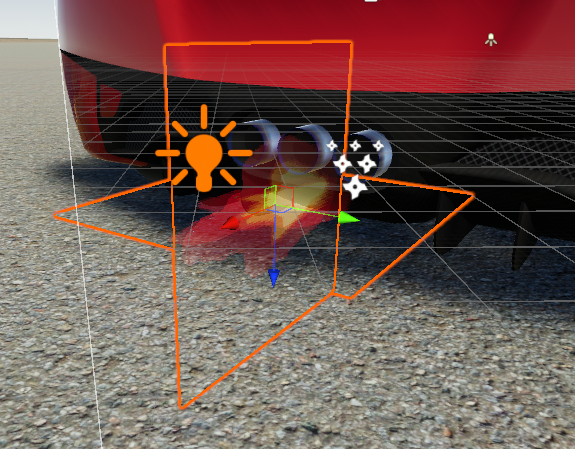
Quads perpendicular to each other. Move them to the location of the exhaust. - Remove any colliders from
Quads. - Create a new material that uses
Particles/Standard Unlit(Unity 2019) or equivalent shader withTransparentrendering andMultiplycolor mode. The included example on Sports Car prefab can be copied. Assigning one of the included flame textures will show if the rotation of theQuadis correct. RotateQuadif needed.
- Assign the
MeshRenderers from the newly created Quads to theExhaustFlash⇒Mesh Rendererslist.
Assigning Textures
To make flames look more convincing a random texture is assigned to each Quad on each flash. A number of default textures is included.
- Assign textures to
Flash Textureslist.
Adding Point Lights
Exhaust Smoke
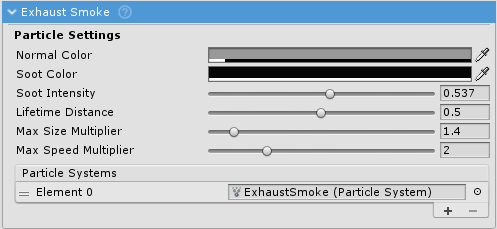
ExhaustSmoke controls exhaust ParticleSystem color, size and emission speed. It interpolates between NormalColor and SootColor based on engine state.
Setup
- Position
ParticleSystems at vehicle exhaust position. Prefab of pre-configuredParticleSystemcomes with the asset (Effects > Particles > Prefabs). - Assign the
ParticleSystems to theParticle Systemslist insideExhaustSmokeinspector.
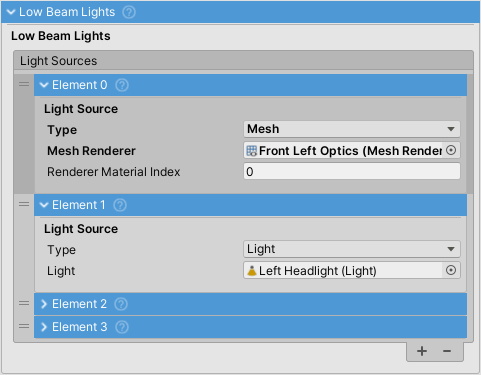
LightsManager is tasked with turning VehicleLights on or off depending on user input.
Vehicle Light
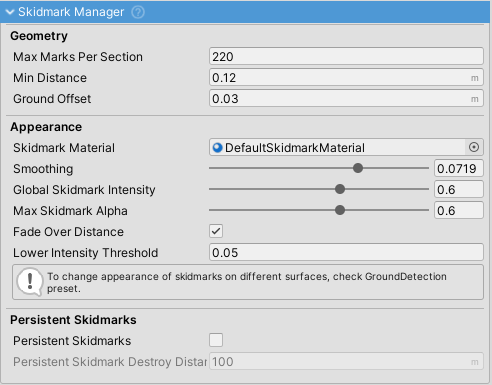
Skidmark Manager
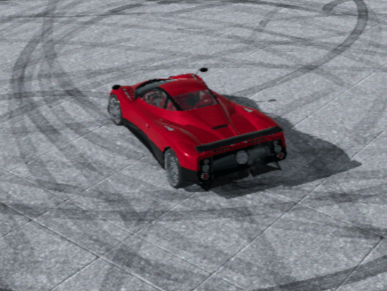
Skidmarks are generated when wheel skids / slips over a surface.
- Skidmarks are achieved by procedurally generating a mesh. One mark consists of two triangles and the number of triangles per one section can be calculated as
Max Marks Per Section * 2. Min Distanceis the distance a wheel needs to travel before a new mark is created.- Default behavior is to delete the oldest triangles as soon as number of marks reaches
Max Marks Per Section- similar to the old snake game. To make this transition smoothFade Over Distancecan be enabled orPeristent Skidmarkscan be used. Check the section below for more info. - If skidmarks are not visible or clip into the terain
GrounOffsetneeds to be increased. - To define when the wheel is slipping
Longitudinal Slip ThresholdandLateral Slip Thresholdfrom vehicle settings tab are used.
Surface-based Skidmarks
- Skidmarks use settings of currently active
SurfacePresetto get the settings for the current surface type.
- Also check GroundDetection page for more info.
Persistent Skidmarks
- Persistent skidmarks get stored into sections of
Max Marks Per Sectionsize. - Sections do not get destroyed as longs as the the player is under
Peristent Skidmark Destroy Distance. - Downside to this approach is that over time this will cause the number of triangles in the view-port to increase.
Surface Particle Manager
SurfaceParticleManager creates and manages particles based on current SurfacePreset settings.
- Particles are emitted on per-wheel basis. Total surface particle count is a sum of particle counts from all the wheels'
ParticleSystems. Lateral Slip ThresholdandLongitudinal Slip Thresholdunder Settings tab determine the lowest wheel slip threshold needed for wheel to be considered to be slipping. This affects particle effects.
Mirrors
Mirrors are set up through a combination of Cameras, RenderTextures and Materials with specific UV mapping.
Camera first renders its view to a RenderTexture which is assigned to a Material(any shader that supports albedo map will work). This Material has an UV map that corresponds to the surface of the vehicle mirror.
Possible setups are:
- Render each mirror with a separate
Camerato a separateRenderTexturewhich is assigned to a separateMaterial. Best visual quality but slow. - Using UV map that is split between the mirrors which means that each mirror gets only a part of the UV map, but this comes at a disadvantage that the interior of the vehicle can not be seen in rearview mirror since the camera needs to start rendering at the rear of the vehicle to prevent intersection with the vehicle mesh.
- Hybrid approach: one camera for rearview mirror and one camera for left and right mirrors.
